One of the cool new features of the latest release of VCD is guided tours. This allows you to make tours available to your tenants to help them navigate more complex tasks. On top of that, you can actually create the tours directly in VCD by recording the steps and then go back and edit things to make sure it is perfect. This feature is going to make it much easier for you to onboard tenants and make things a lot more self service from a learning perspective. I will preface this with a qualifier that this is the very first drop of Guided Tours so it is fairly limited in functionality but does lay the groundwork for what will become an indispensable part of VCD. With that said, let’s dive in!
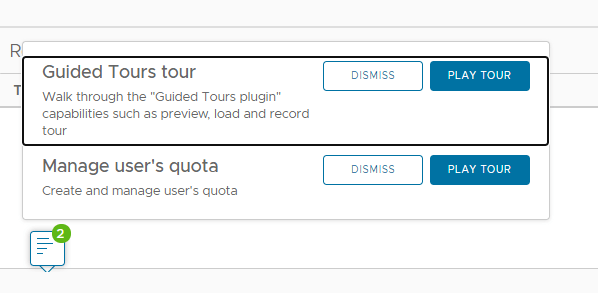
First off, when you log into VCD, you will see a little icon in the bottom left of the screen. This indicates you have unwatched tours available. Tapping the icon brings up the tours you have not watched. From here you can dismiss or play the tours.
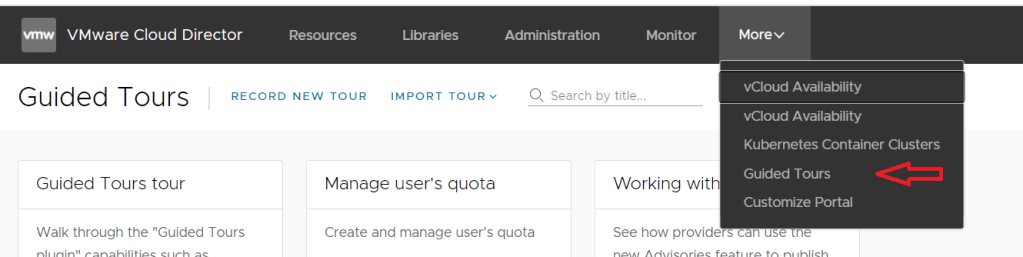
There is also a new menu item in More specifically for the Guided Tours section where you get to see all the tours available, edit them, import new tours or record new tours.

These are the three tours that come by default with the 10.2 release and the first is, fittingly, a tour of Guided Tours. From here, you can play one of the guided tours as well as edit, save or delete them. If you have completed the tour already or dismissed it from the assistant, you can add it back from here too.

You will also note that Tours supports different translations for the actual tour content. More on that a little later on.
Currently you can only share Tours that you as a provider create by saving them (to a JSON file) and then importing them into the tenant space. (As I mentioned before, this is the first drop of the tool and things like sharing tours with tenants directly from the Tour manager will be supported.)
Hitting the Record New Tour link will bring up a dialog like this.
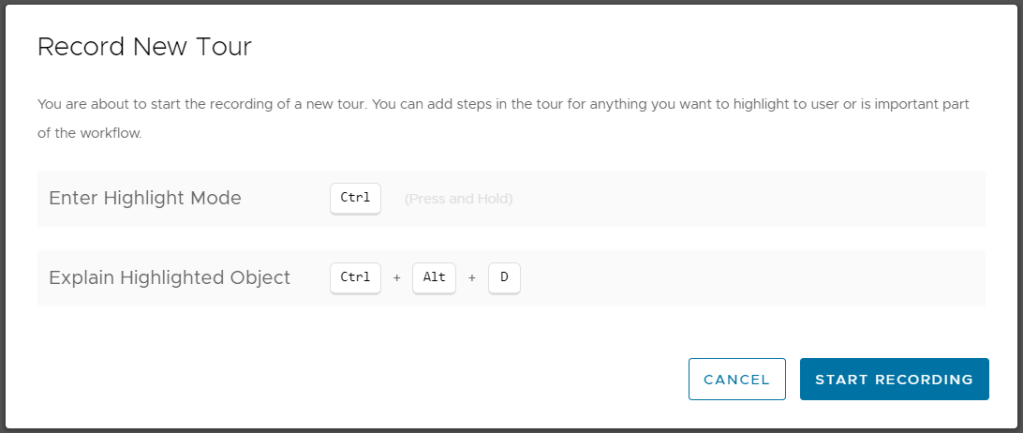
As you can see, you use the Ctrl button to highlight an element and the Ctrl+Alt+D to provide the text about that element. This is the text that makes it into the tour. Once you click Start Recording you will see a number of options pop up in the lower left corner as well as a Stop Recording button in the lower right.


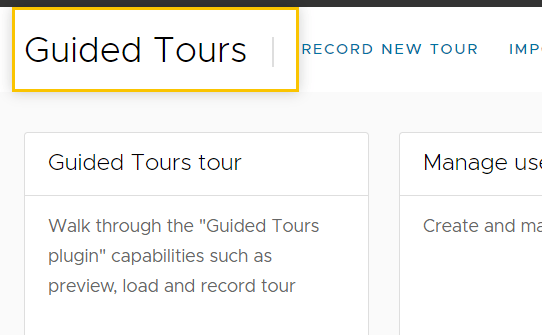
You can now proceed to recording the steps of the tour you are building. When you hold down the Ctrl button, a yellow highlighter box will wrap around the elements as you move your mouse over them like this.
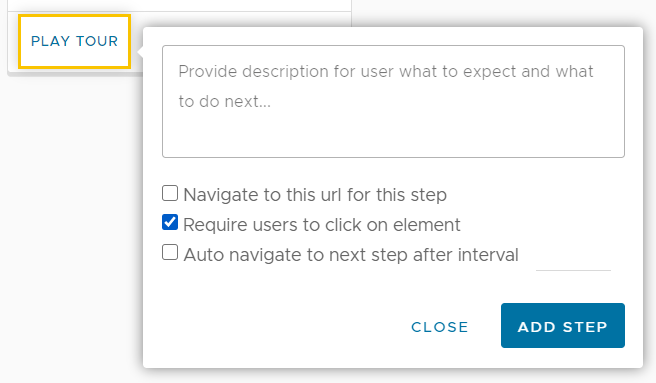
And once you press Ctrl-Alt-D, you get the ability to enter the details of that step.

You can optionally select to navigate to this step as well as progressing automatically after a set interval to the next step. As you progress through adding steps, you will see the step counter increase in the bottom left corner.
If the element you select can have an action performed on it, you will also get the option to configure this action. Below you can see the ability to enter text as well as click buttons/links.


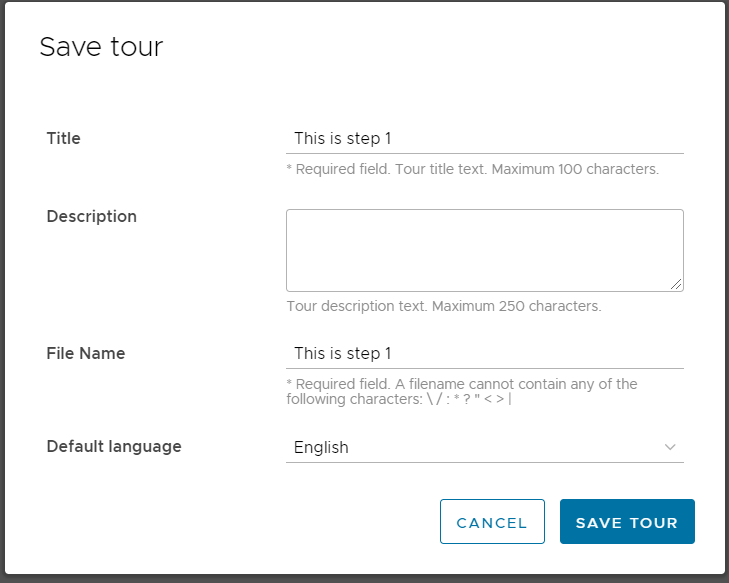
Once you have completed all the steps you can Preview the Tour in the bottom left. This will take you through the Tour you have just created. Once you are happy with it all, click Save Tour. This provides a popup to add some additional tour details like a Title, Description, File Name and the default language to present the Tour in. This step will save the Tour to your local machine.
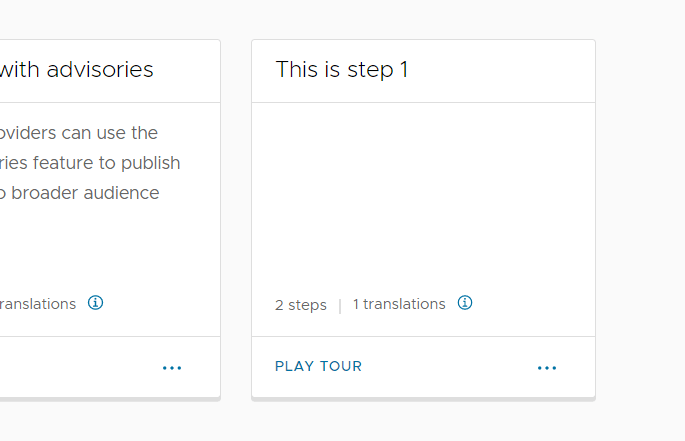
The last step is to import the tour you just created.

Select the file you just saved and click open. The Tour will now be available in the Tour selection.
The last thing I want to go through in this initial blog on Guided Tours is how you make this available for tenants. This is done like many other plugins by going to the More > Customize Portal menu option.
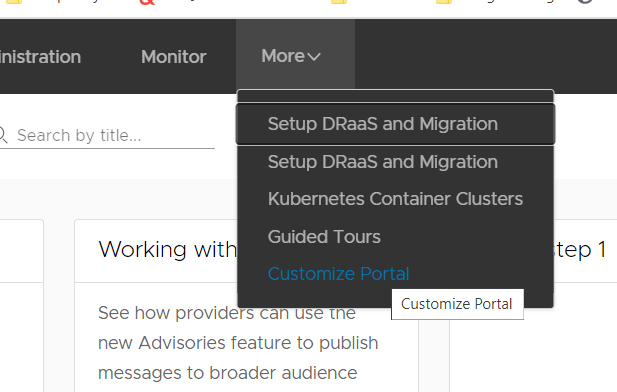
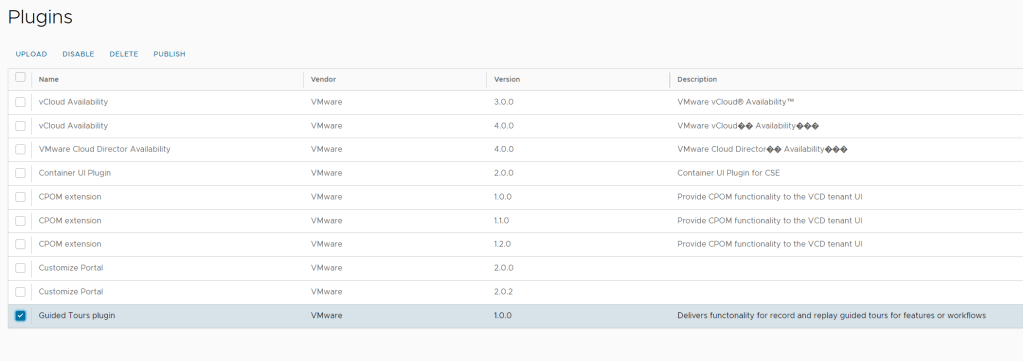
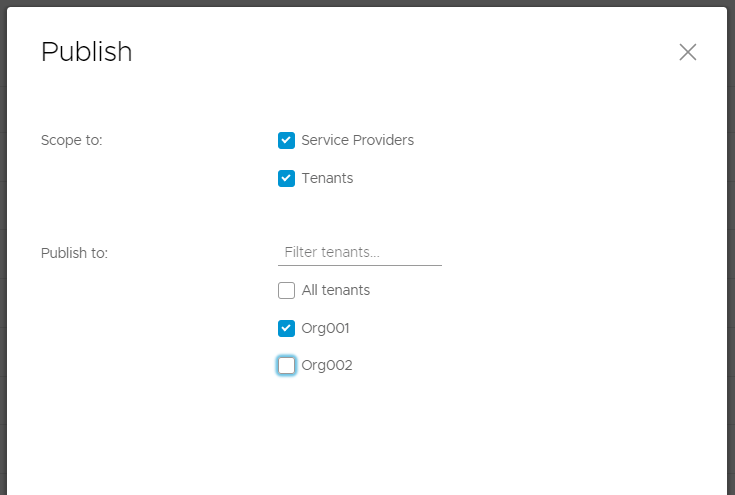
You can see at the bottom on my list of plugins is the Guided Tour plugin. Select it and click Publish. From the popup you will be able to select who gets to see Guided Tours.
Once you have enabled the Guided Tour functionality for a tenant, you can go and import all the tours you have prepared for them in the same way you did above. With the current release there is no way to share tours from the UI. This will be available in an upcoming release of Guided Tours.
Send us your feedback on this capability and let us know what you think.
