In the first part in this series, I am going to walk you through setting up a simple Certificate Authority on Windows 2016 Server for a lab environment. If you want to get rid of those annoying warnings every time you open a web session for vCenter, or ESXi or pretty much any VMware product, you have to have a signed and trusted certificate on the web server. Without it, you are required to acknowledge the risk of connecting to the site and then clicking to continuing on to that site. This is particularly painful when you are trying to demo a product like the vROps Tenant App for vCD that has a iFrame that connects to the App. Unless you go and do the acceptances before you start the demo, you are stuck getting rid of these warnings which interrupt proceedings. In my lab environment, I setup a Microsoft Certificate Authority to sign certificates for the various tools I am running allowing me to get rid of that warning and have all green URLs in my browser.
First things first, you need to have a VM running Windows Server 2016. I will not go into the details of setting up a Windows Server here.
Step 1. We need to add the Certificate Authority Role to the server. Open the Server Manager and then select Add Roles and Features.

Step 2. Click Next on the information page.

Step 3. Keep role-based or feature-based installation selected and click Next.

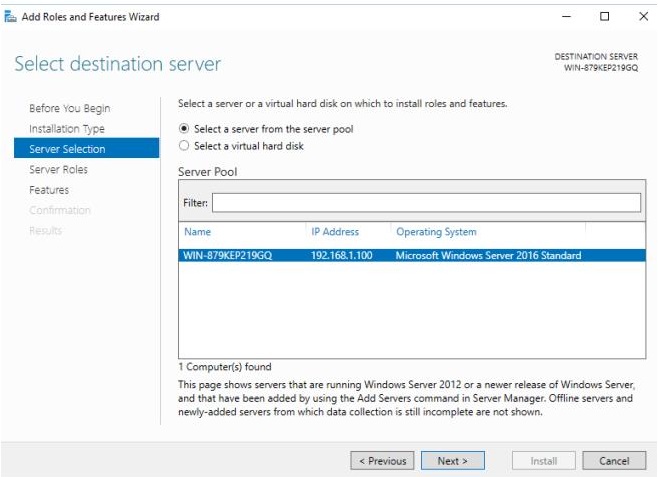
Step 4. There should only be one destination server and it should be the one you are working on. Click Next.
Step 5. Next in the Server Roles selection, tick the Active Directory Certificate Services and wait for the popup for the additional features that are required for ADCS.

Once this pops up, click Add Features.

Step 6. You should now have a tick against Active Directory Certificate Services. Click Next.

Step 7. On the select features page, leave it as is and click Next.

Step 8. Click Next on the ADCS information page.

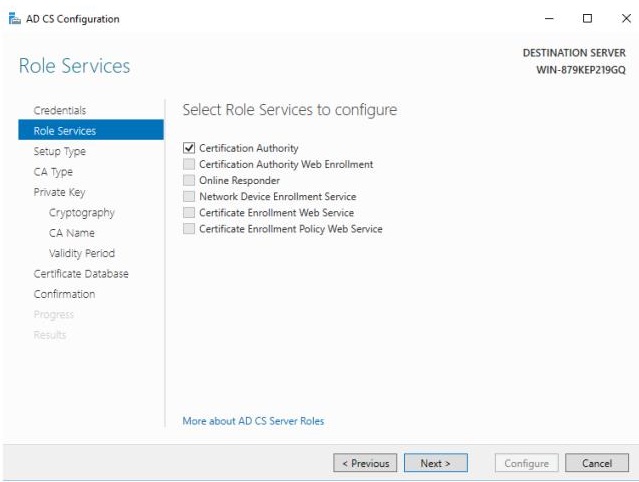
Step 9. Select Certification Services in the Role Services and click Next.

Step 10. Select Restart the desination server automatically if required and click Yes in the popup. Finally click Install.

Step 11. The installation of the ADCS will start.

Step 12. If all goes well, the installation should complete and you can click close. (On a fresh 2016 install a restart is not usually required.)

Step 13. Go back to your Server Manager Dashboard and you should see a yellow exclamation. This indicates you need to complete the ADCS configuration.

Step 14. Click the flag and then click Configure Active Directory Certificate Services on th…. in the Post-deployment Configuration item.

Step 15. Keep the default credentials and click Next.

Step 16. Tick Certification Authority and click Next.
Step 17. Keep Standalone CA selected and click Next. For an Enterprise CA you need to be connected to a domain and that is not needed for our purposes.

Step 18. You want to deploy a Root CA unless you have a Root CA that this CA can be a subordinate of. Click Next.

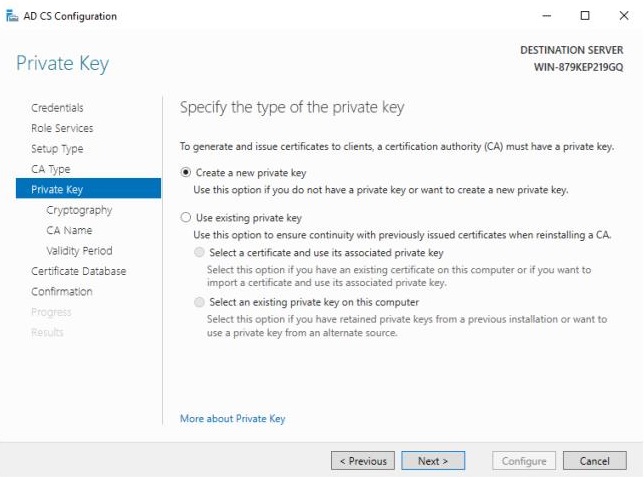
Step 19. Leave create new private key selected and click next.
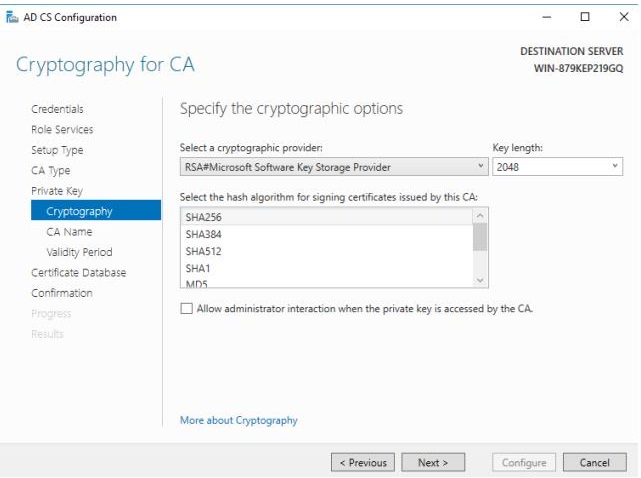
Step 20. The default Key Length and algorithm should be sufficient for lab needs. Click Next
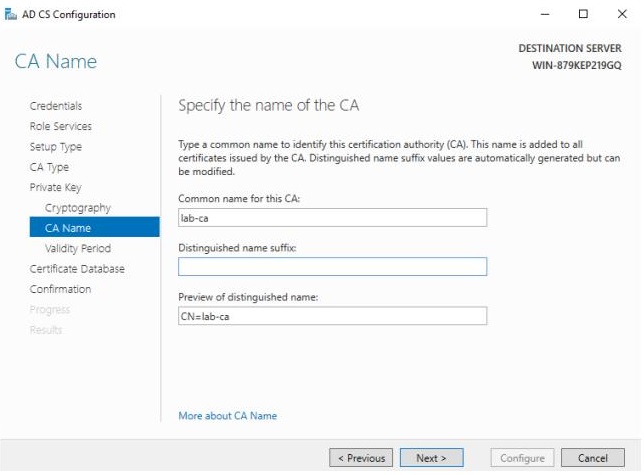
Step 21. Give the CA a name and click Next.
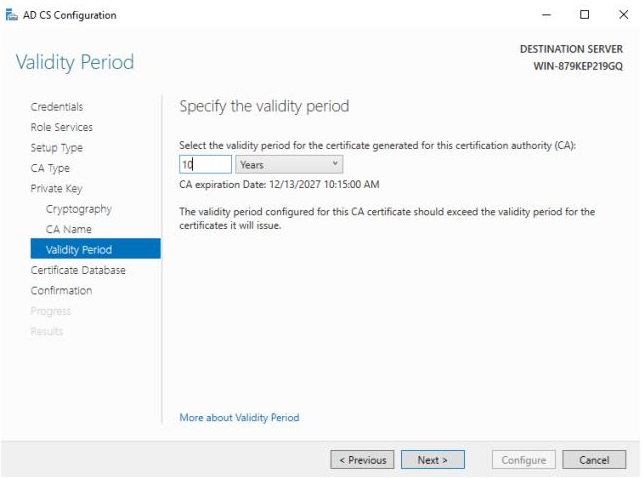
Step 22. The default validity is 5 years. I normally make it 10. Once you have set it, click Next.
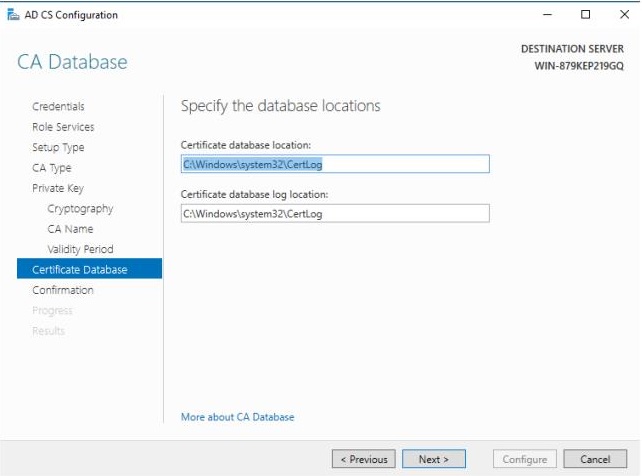
Step 23. Leave the default database locations unless you specifically want to change them and click Next.
Step 24. Click Configure on the summary page.

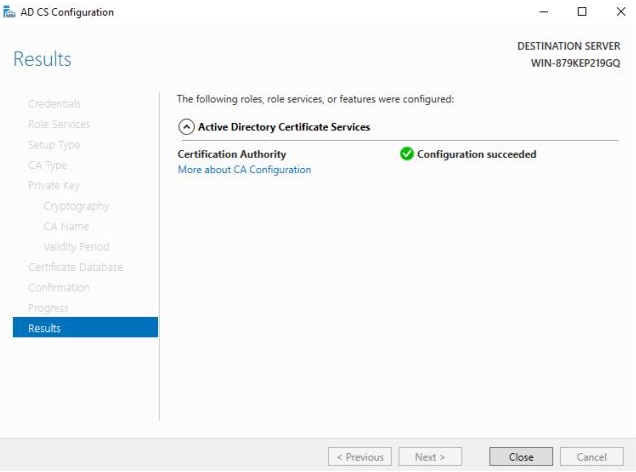
Step 25. And you should now have a configured Certificate Authority.
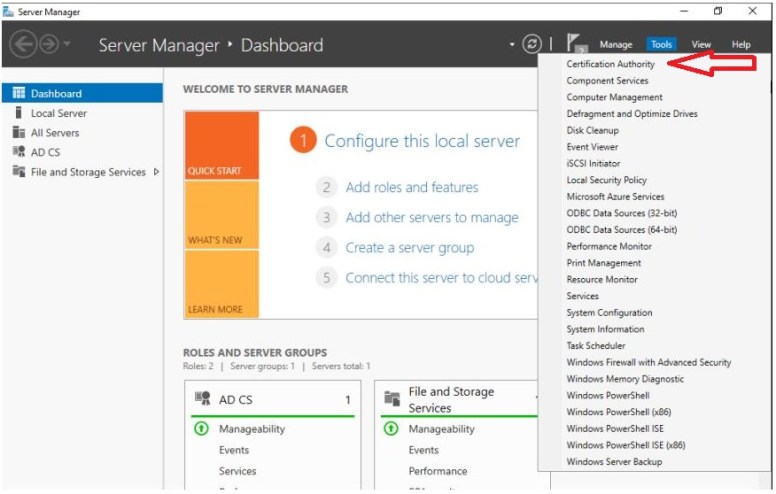
Step 26. On the Server Manager Dashboard, click the Tools Menu and then Certification Authority.
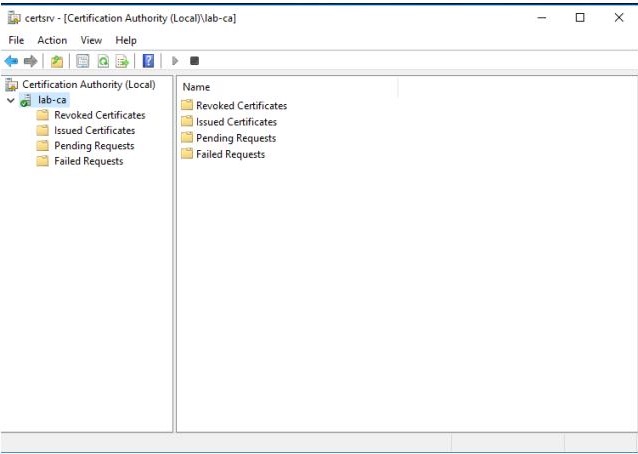
Step 27. And here you should see your newly minted CA.
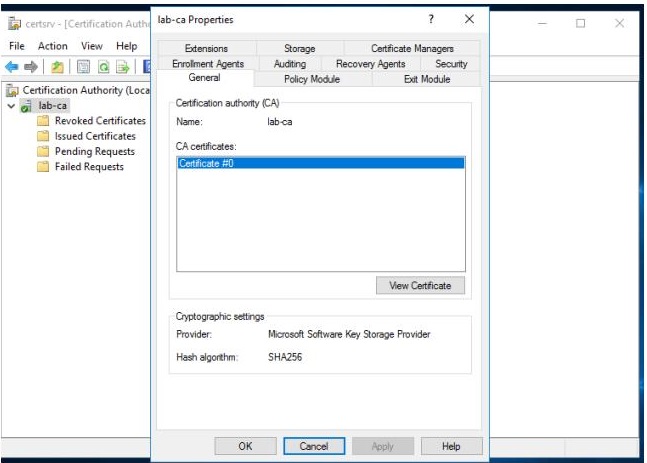
Step 28. Right click lab-ca and click Properties. You will see Certificate #0 in the list which is the public certificate for the CA itself. Click View Certificate.
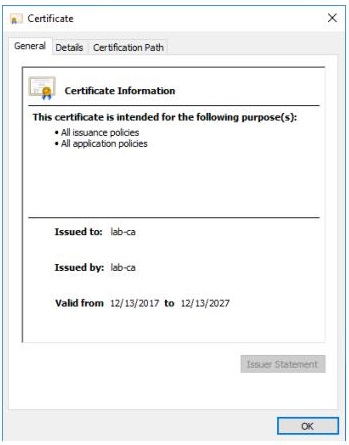
Step 29. You will see the summary page for the certificate that indicate the Validity period. (10 years in this case)
Step 30. In order for devices you use to trust certificates signed by this Certificate Authority, you will need to install the public certificate of the CA into the Trusted CAs list on each device.
Click the Details tab.

Step 31. Now click Copy to File and click Next.
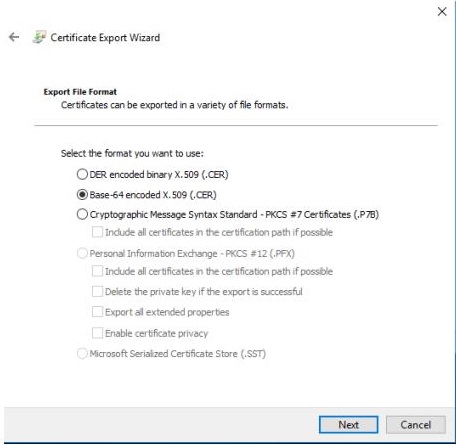
Step 32. You need to export the certificate in Base-64 Encoded format as you will use the contents for various VMware solutions. Select Base-64 and click Next.
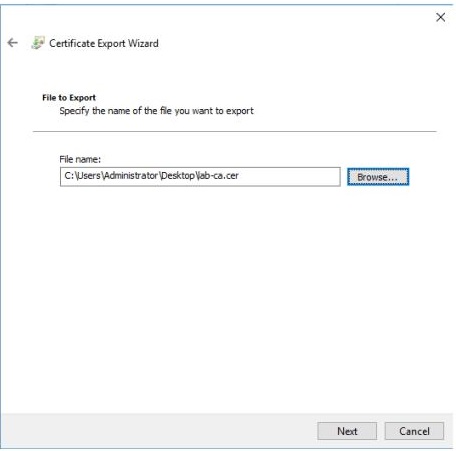
Step 33. Select a location and name for the file and click Next.
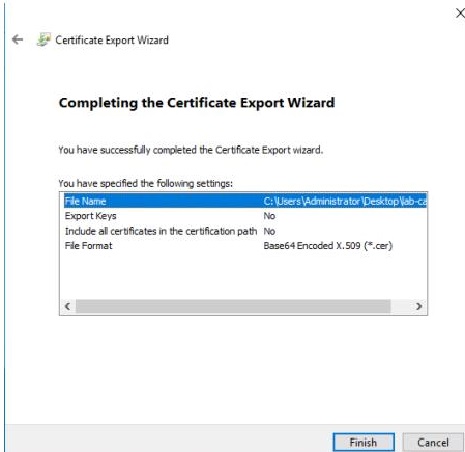
Step 34. Click Finished on the summary page.
Step 35. If you now open the file you just saved with Notepad, it will look something similar to this.

And that’s it. You are now ready to mint certificates for your lab servers. Don’t forget to save the public certificate into the Trusted Root Certificates of your devices that you use to manage the lab environment.
In part 2 we will look at signing a CSR (Certificate Signing Request) with our new CA.
