In Part 1 of this series, we looked at setting up a Certificate Authority. You will need a CA in order to complete Part 2 and the subsequent parts in this series.
In order to trust certificates, a CSR needs to be signed by a CA that is trusted on the devices you will connect from. In Part 3 we will look at creating a CSR for vRLI but this walk through will be relevant for all the future parts in this series that require a CSR to be signed.
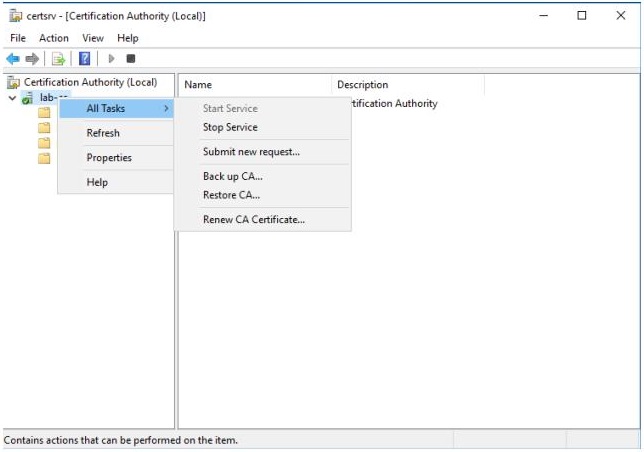
Step 1. Copy the CSR file you have to the server running the CA and then open the Certification Authority configuration app. Right click the CA, click All Tasks and then click Submit new request…
Step 2. A file selector will pop up and ask you for the .CSR file. Select it and click Open.
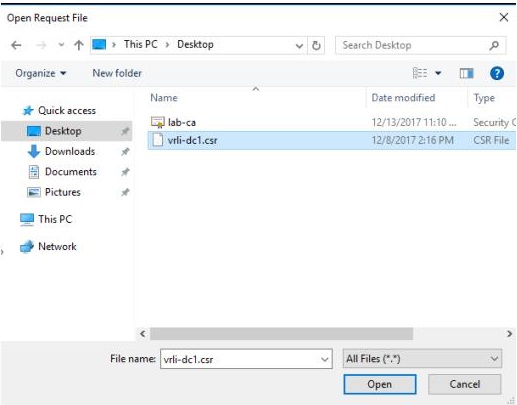
The CSR is loaded into the CA and if everything is good, it will put the request into the Pending Requests folder.

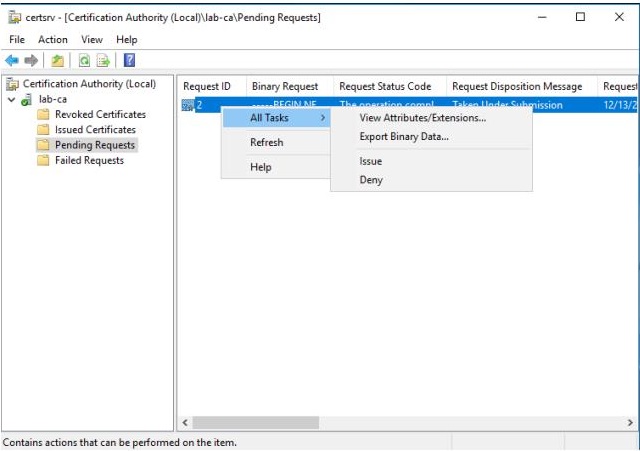
Step 3. Right click the request and select All Tasks and then Issue.
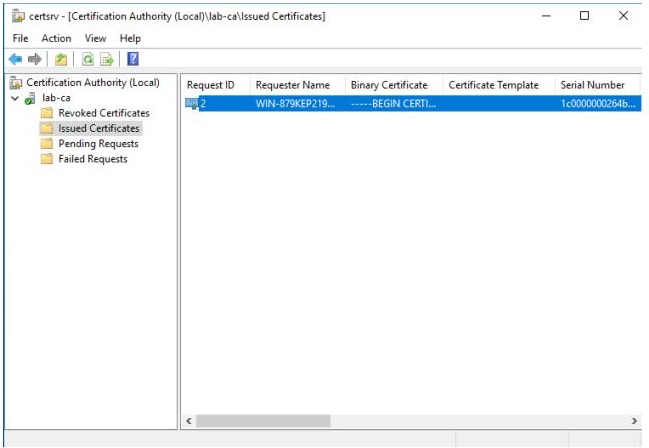
The certificate is now placed in the Issued Certificates folder.
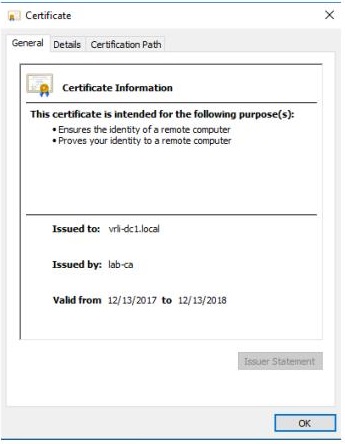
Step 4. Double click the issued certificate and a viewer window opens. Here you can see that the certificate is used to ensure the identity of a and proving the identity of a remote computer.
Step 5.
Step 6. Click Next
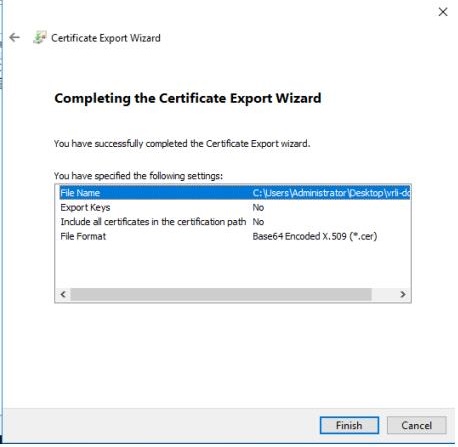
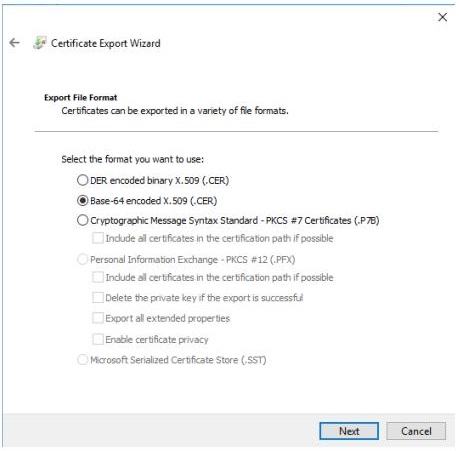
Step 7. Ensure that you select Base-64 encoded for the output format and click Next.
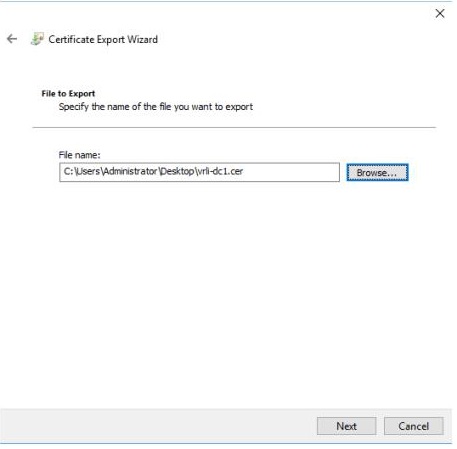
Step 8. Enter a file name for the file and click Next.